yea, it makes sense that the tension load is probably on the bottom... but i have a bad feeling...
relic seems a pro at this stuff,
there is a pretty interesting site: boardlady.com/
for anyone who is interested in more tutes
Yeah board lady does it for me.
That rocks! I remember using her tips over 15 years ago.
A fellow windsurfer with far more repair and knowledge on the topic of forces on boards has provided a much more detailed correct explaination.
I thought it too valuable not to share with everyone. I stand corrected.
I have drawn a lot from Eva Hollymans's site, with over 5000 repairs and vast knowledge as a naval architect she is the guru. Often unfairly maligned. She is also very generous having replied to an email I sent her regarding a technical question.
I'm happy with the interest shown with the thread. I hope it will enable those inclined like me to repair their own boards. Having to pay for this type of stuff is bloody expensive. I'm no genius. If I can do it anyone can. Power to the Internet for enabling the sharing of knowledge. However as a clever bloke famously said; "Imagination is far more important than knowledge" ![]()
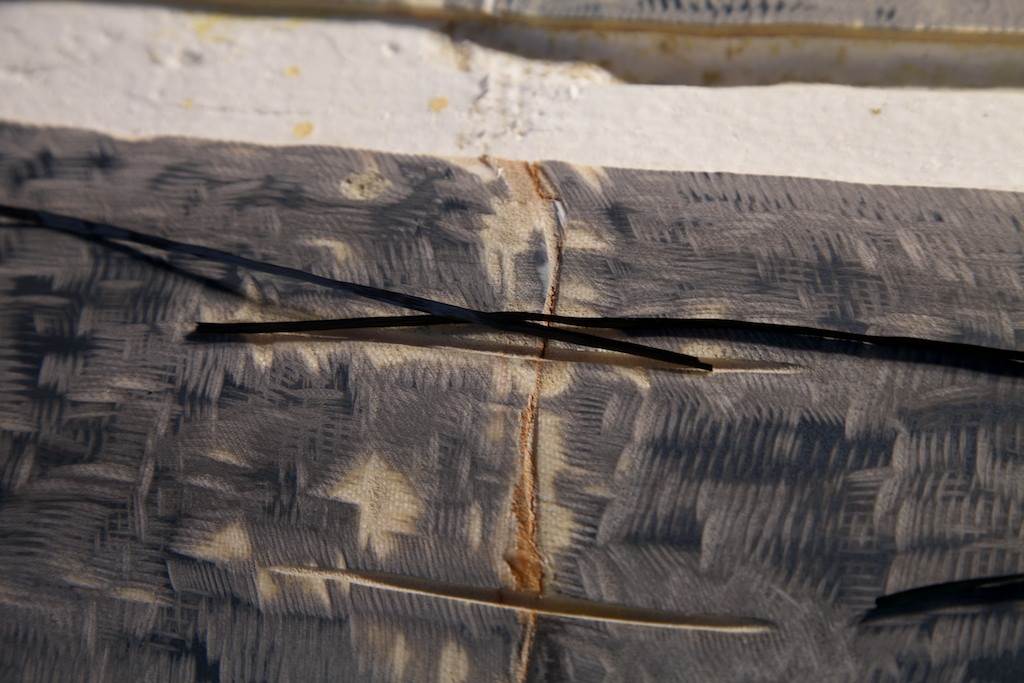
Hi Paul. as you are aware there are lots of forces acting on a board when under normal sailing conditions. In a failure situation (the more common one of many) due to high impact landing, it is the bottom that that is put under compression and the deck is under tension. When landing flat or onto a bit chop, there are 2 downward forces. That of the mast rig with some of your upper weight on it and the other being the resultant weight you place through the footstrap area. Opposing these forces is the flat section landing between the mast track and footstraps. This results in the bottom bending around that landing area and becoming under compression; the deck is therefore placed under tension through that area.
Looking at the bottom layup it is the outer glass that is under compression and the inner glass that is under tension. It is normally that outer glass that delaminates first as it buckles under compression and the forces directly applied from the fluid. From that point, if the loading is great enough the pvc will buckle and fold back into the EPS creating a crease along the bottom, this may tear the pvc and layers if the board springs back fast and adds tension to the already delaminated outer layer(bottom crease). looking at the top, if the loading is that great and the bottom holds for that split longer then the tensile forces on the deck will first cause the deck inner layer to delaminate as it buckles under compression, followed by the pvc buckling and in turn the carbon or glass etc. outer layer will tear apart from tensile and shear forces and the board will snap from deck down. There are other scenarios but this is the most common
So under common fault conditions(most of our landings) the deck is under tension, but not forgetting that the actual deck sandwich although in total tension; the inner layer is also under compression from bending forces.
Arrr the eternal search for performance (weight) vs strength (durability) and cost .
Select to expand quotewindsurftom said..
Great thread relic.
You got a great looking result on that innegra rail!
Thanks...with a bit more time & effort a near invisible result is possible. I wanted to finish fast as the first good seabreeze at one of our favourite breaks was beckoning. Besides board is generally tatty but water tight never having been used with damage taped up. The visible repairs are badges of hounour in my book and make for good stories.
Don't think tape will keep water out. It will not! I always carry a ding stick in the car and pack damage extending the temporary repair over unbroken skin. I reckon keeps more moisture out till a proper repair is done. A few $for a ding stick is worth not having a soggy mess that will take a long time to dry out.
Importantly, I forgot to mention; if a repair is not being painted UV stable resin is a must. Normal resin will turn yellow very quickly.
in other news... for sale is my starboard acid wave board... these were awesome boards back in the day and great for high wind blasting too.
its 66 l, so its good for the big days...
pete stevenson wrinkled the deck doing one of his massive delayed forwards.
i fixed the deck, turns out that the thai dude on a dollar a day, left a massive area of dry glass in the deck so arguably this ones stronger than new...(had trouble matching the grip deck as you can see...)
its never been sailed since...so buyer be ware, very aware

I reckon the resin goes off in the heat before the dudes get the glass wet out. Or they have a ration per board!
Hey great thread Relic. I can live vicariously through you in the comfort of my lounge room without getting itchy. Plus I have a list of domestic jobs to do around the house and garden putting a hold on my own board tweaking.
Nice rail repair and doing those strips on the deck was a very clever idea ![]()
Re boards breaking I put a post on the boards forum as there are quite a few clever board tweaker on there including shapers for Witchcraft and Simmer boards http://forums.boards.co.uk/showthread.php/77318-How-does-a-board-break-or-crease#fSThZ8dOdCRS0ok8.97
Ps your vacuum pump looks so neat and professional very impressive!
Looking forward to seeing more of your project.
Your gauge shows your getting enough vacuum, I think they're just slow as its so low in volume, a mate with no gauge using a fridge compressor managed to change his vee from 4mm each side to 25mm by mistake on a board he was making. I was wondering how you were going to tackle the rest of the crack. I think it'll be stronger than when first made.
Surely the LEARNER (no names) is going to foot the bill, so it's all FREE anyway...
I am still contemplating putting twin boxes in my 66 Evo. I rode it on the weekend after being on my 74 Evil Twin for the last few weeks and you just can't 'slam' the single fin board into a turn, but if you could, it would be the best board on the planet - hands down.
So, anyone who wants to supplement the Relic Repair Shop - On-Line, with hot tips on fitting boxes...feel free! The low tech 'tools-you-happen-to-have-lying-around-anyway' version would be good.
Are there CPD points in this?
CPD argument :....familiarization with alternative materials to assess their suitability for implementation into custom architectural forms...... blah blah blah!
Select to expand quoteGclark1 said..
Surely the LEARNER (no names) is going to foot the bill, so it's all FREE anyway...
I am still contemplating putting twin boxes in my 66 Evo. I rode it on the weekend after being on my 74 Evil Twin for the last few weeks and you just can't 'slam' the single fin board into a turn, but if you could, it would be the best board on the planet - hands down.
So, anyone who wants to supplement the Relic Repair Shop - On-Line, with hot tips on fitting boxes...feel free! The low tech 'tools-you-happen-to-have-lying-around-anyway' version would be good.
Are there CPD points in this?
I'll whack 'em in for you Clarky. I owe you for the two kids boards!
re pump,
somewhere i have read a guide on vac pressure to use. i can get -.8 bar and that will suck the resin out of your job...
I can't remember what vac pressure you need but .25-.3 rings a bell but i wouldn't take my own word on this one...
do you have a needle value in vac pump line? it allows you to adjust your pressure...
Select to expand quotenickpryde said..
re pump,
somewhere i have read a guide on vac pressure to use. i can get -.8 bar and that will suck the resin out of your job...
I can't remember what vac pressure you need but .25-.3 rings a bell but i wouldn't take my own word on this one...
Thanks Nick, the feedback is appreciated. I'm getting as much info back from everyone as I'm giving. Keep it coming. info on lay ups would be great too. Although some are a bit secretive ![]() The link Rider1 put up on discussion of board stresses is worth a read.
The link Rider1 put up on discussion of board stresses is worth a read.
The gate valve on the olier controls the vacum. It's crude but it works.
In hindsight I think there was enough vacuum; -30-40 kPa, because the PVC layer sucked down into the core about 1 mm too much. Initially I thought I had got the cut out depth wrong. I'm pretty sure it was correct because I did test cuts before the big chop out.
.....Now getting the carbon strands under tension would be a challenge. Putting them in was just to give the glue more structure. It probably wasn't necessary as the glue sets bloody hard. I had the leftovers so why not use them. It can't do any harm. It also gave me the opportunity to shove some glue between the core and composite. Every little bit helps
Decided to glue finger strips after doing the first as a test. Peel ply & plastic over the top and taped tight.

Used up the remaining carbon fibre strands

Uni bias strips over PVC Opposite to bottom. Assuming deck is under tension during hard landing.


I'm starting to think it will be strong... 
Result revealed with peel ply off exceeded expectations. The Epoxy resin glue has filled all the voids. With the bond this stuff achieves it should be bombproof. Well worth 100g more weight.

A quick sand and top layer of carbon fibre double bias cloth will complete structural work.


Relic,
Fantastic work, I'm really enjoying the post. One question, did you consider removing and replacing the sandwich construction on the top deck, 300 mm either side of the break, in lieu of the carbon fingers and single carbon layer?
Considered Select to expand quoteJohn340 said..
Relic,
Fantastic work, I'm really enjoying the post. One question, did you consider removing and replacing the sandwich construction on the top deck, 300 mm either side of the break, in lieu of the carbon fingers and single carbon layer?
Yes considered that. Decision not to was: A lot of work and deck skin not delaminated. I've just applied the final lay up;
The area to be glassed was cross etched with a grinder cut off wheel and sanded with 60 Grade to expose top layer of original glass to get a good "Key" bond as well as even up the "Fingers".


As a result of too much vacum on the bottom the composite sucked into the core slightly. Rather than just use filler left over single bias and strips of mat have been glassed in to get some rail strength back.
The deck has had a layer of CF double bias layed over from 200mm in front of mast track to behind front heel position.


Vent and track masked out to stop getting full of resin. Unlikely but a precaution. Foot strap holes have been countersunk hopefully to leave indentations in the top layer to bee re-drilled. (Thanks for the idea Rider1)

Glassing all done

Extra glass on rails has filled the indents. Top layer is wrapped around to bottom.

Holes located and drilled before filler is applied.

Looking good. ![]()
I think any vac pressure will compress the eps and cause it to sink a bit, my repair sunk .5mm I think it happens even when making a board but it doesn't get noticed cause its the whole bottom.
Second coat of filler on after first was sanded.

Restoring the rail shape was much easier and successful than previous repairs where I cut out and rebuilt around the fracture. Remains to be seen if it's strong enough.


Chalk and Cheese!
The original board drove a Volvo, wore a hat, never swore, ate its greens, was teetotal, well mannered and generally reserved. Kind of beige...
The new board - even when it is NOT busting a move it will look like it is anyway (might need to get me one of these...)
I am thinking "Darth Sith"
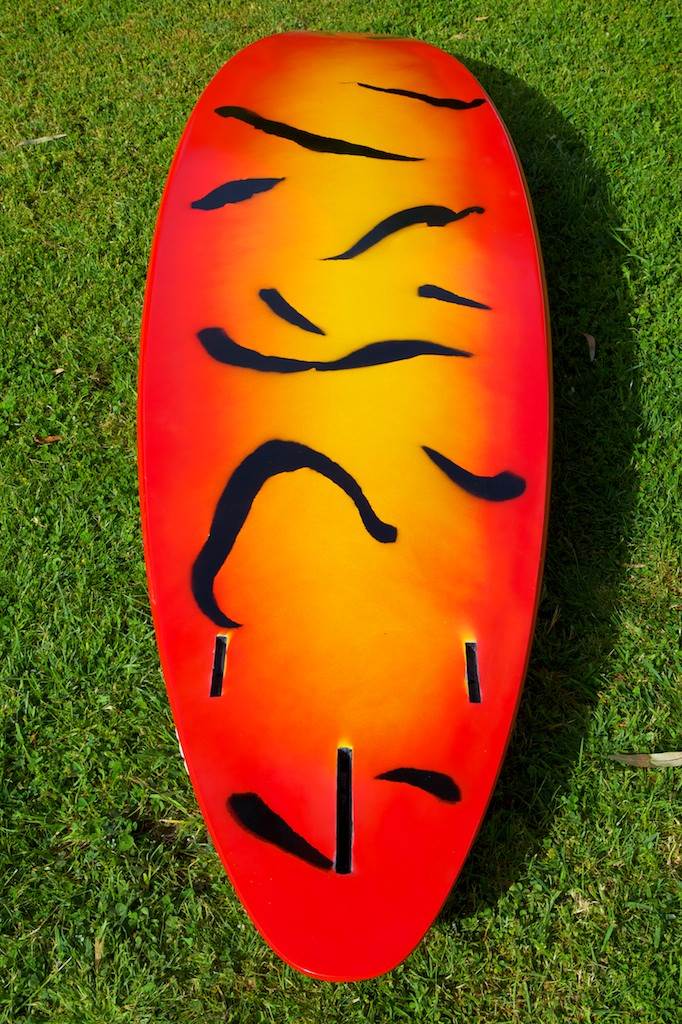
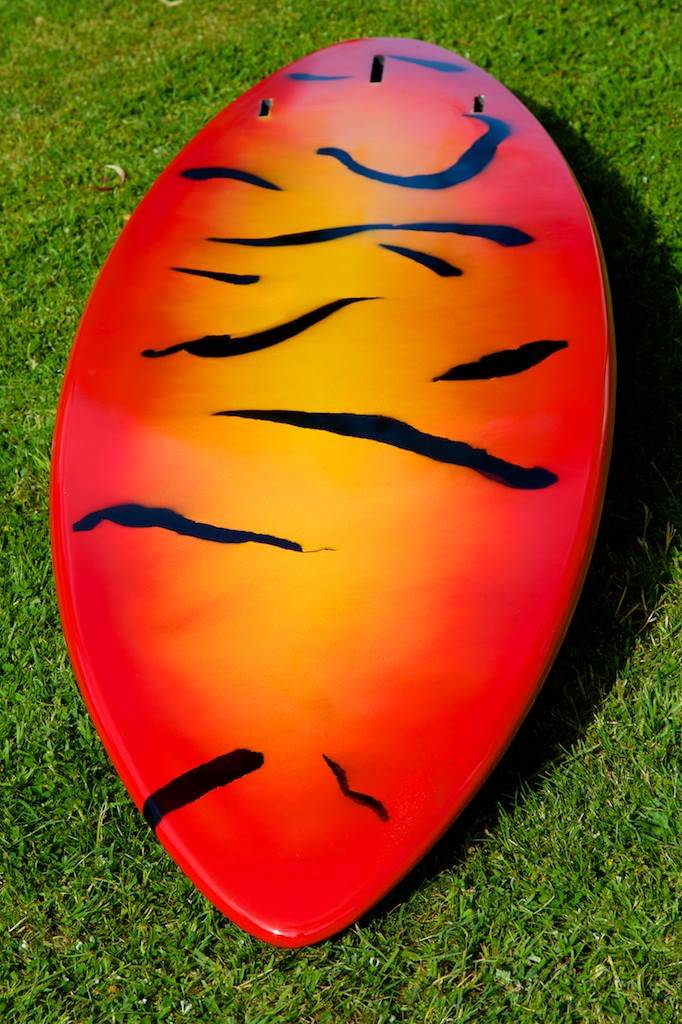
Hi tect Hawaii waveboard graphics from the late 80's cool retro look ![]()
Always wanted one of those zebra patterned wave boards might get the starboard resprayed