same thing windy data line
Mate over here got a small fish up his intake and nearly over heated the motor
That rudder looks like its off a Cessna South Ace ![]()
Thanks hgo2 I always belive a yacht profile under the water should look like aerospace upside down! The rudder bearings sqeek like they are new!
A bit of a transformation since I saw her in July Andy59.
The best time is when you sail her. They transform your view of sailing a boat that size.
I bought one of these little jiggers for my boat for $89 which is half price from Tackle World/Bargain Boat bits.
I'm looking at putting a couple of these in the hull.
http://www.aqualuma.com/pdfs/Aqualuma%20Brochure%202013.pdf
and trying to decide which anchor to choice.


Oh and a TMC electric toilet and fitting a holding tank!
Word from the boat broker is that the oil cooler was blocked by salt crystallisation!
Select to expand quotesouthace said..
Word from the boat broker is that the oil cooler was blocked by salt crystallisation!
strip clean and rebuild better now than when you own it S.A.
Hope they check the flow of the cooling system after clean the oil cooler( heat exchanger)
Well as I have two weeks off thought of what I could do that didnt cost the earth so I bought 5 liter pack discounted down of Hemple two pack light cream sop Ill paint my deck from bow to stern and next pay buy a piece of Lexan to replace the original acrylic hatch cover Should I buy tinted or not ????
Also try my best at finishing off the fiberglass hatch cover and refit it to the boat. I either need to replace the main sheet track or straighten it as its been bent a long time sort of boomerang with lift on one side added to that is the main stainless steel retain bolts four two each side are baldly bent don't like the idea of refit them with out a solution
It's all done and up and running to the original owners expence. I won't transfer the remaining payment until I arrive and run the mains.
Select to expand quotesouthace said..
It's all done and up and running to the original owners expence. I won't transfer the remaining payment until I arrive and run the mains.
Good one South Ace
Hey joelene
It was actually a pretty easy job. I sanded most of the glue of with 40 grit and dust extracting sander
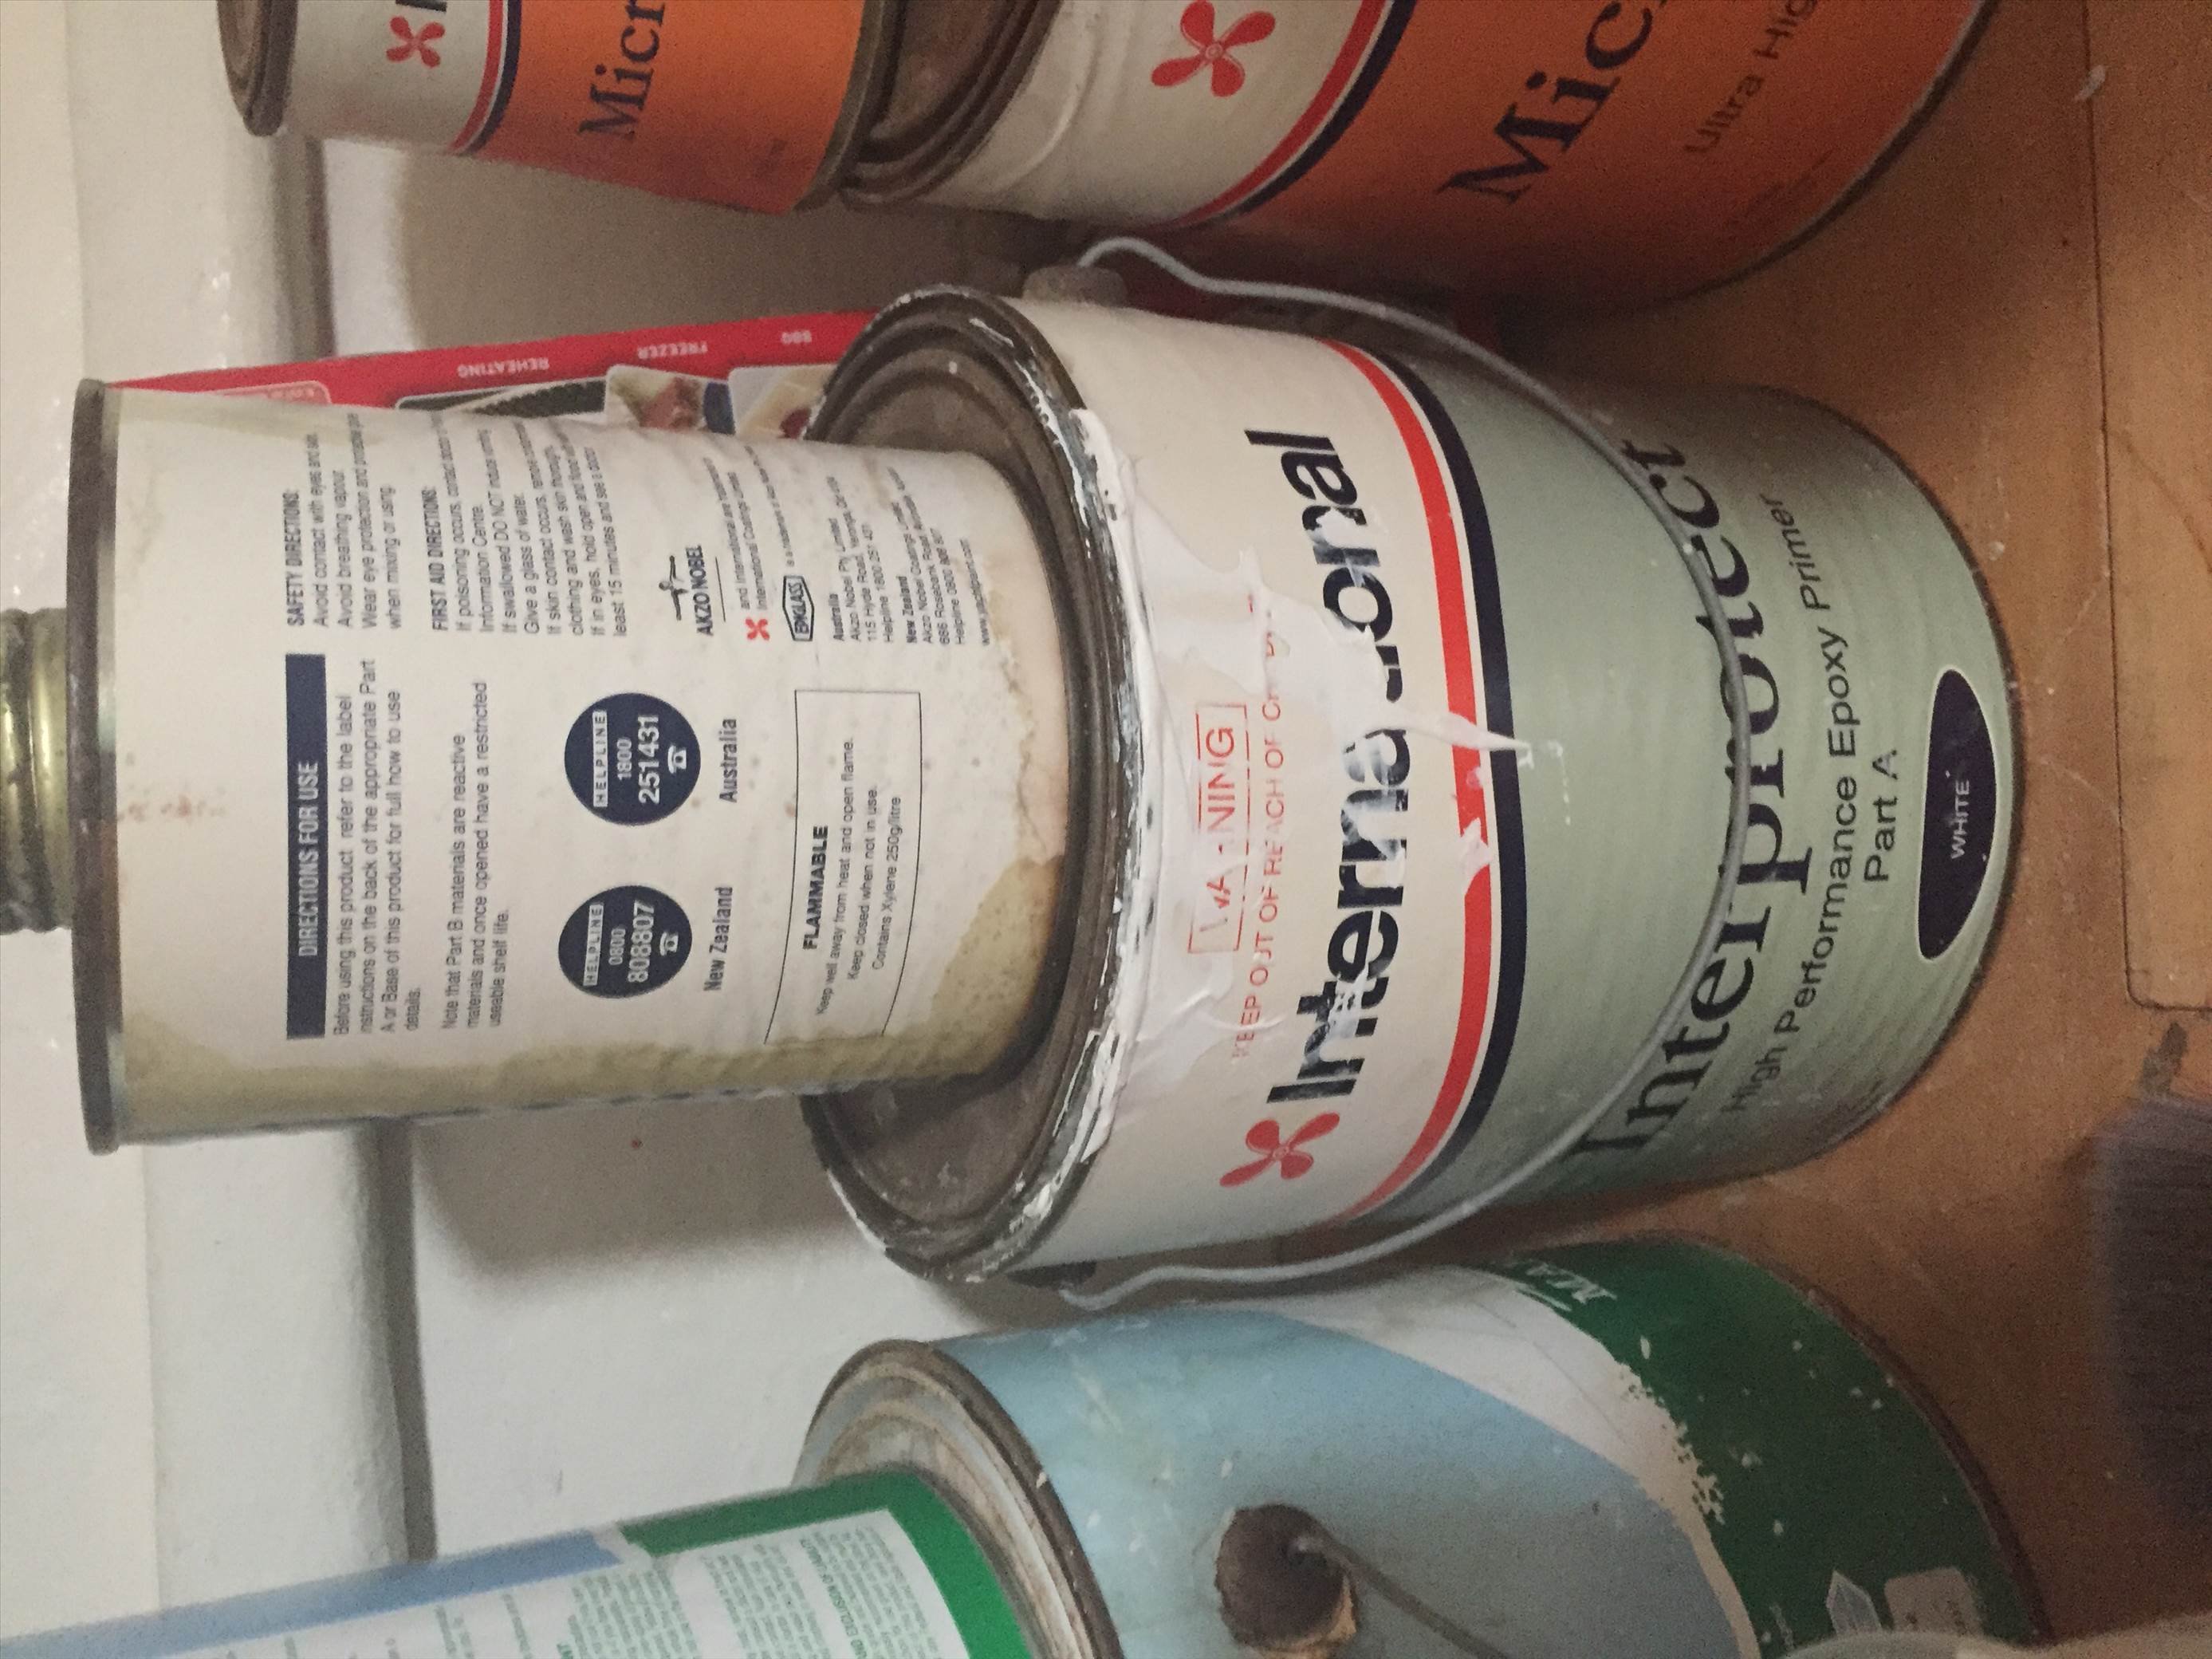
Then I painted with a brush.The paint I used international epoxy primer which had been laying around unopened for about 4 years
I was going to topcoat it with a textured 2 pack but I am happy enough with the Finnish so I think I will leave it for now
A
nother idea is just to use undercoat
Good luck pity you aren't closer I could have given you the rest of the primer
Morning bird yep it's a slow process but she's getting there can't wait to bolt all the fittings back in and go sailing again
I can't wait any longer I need a plane to fly me far south so I can be with my new Princess!
Select to expand quotesouthace said..
Tuesday is the day ! Sailing New Year's Day . Yippiee!
Good Stuff South Ace Well done and enjoy the ride ![]()
Ok I did paint my non skid today at least some of it
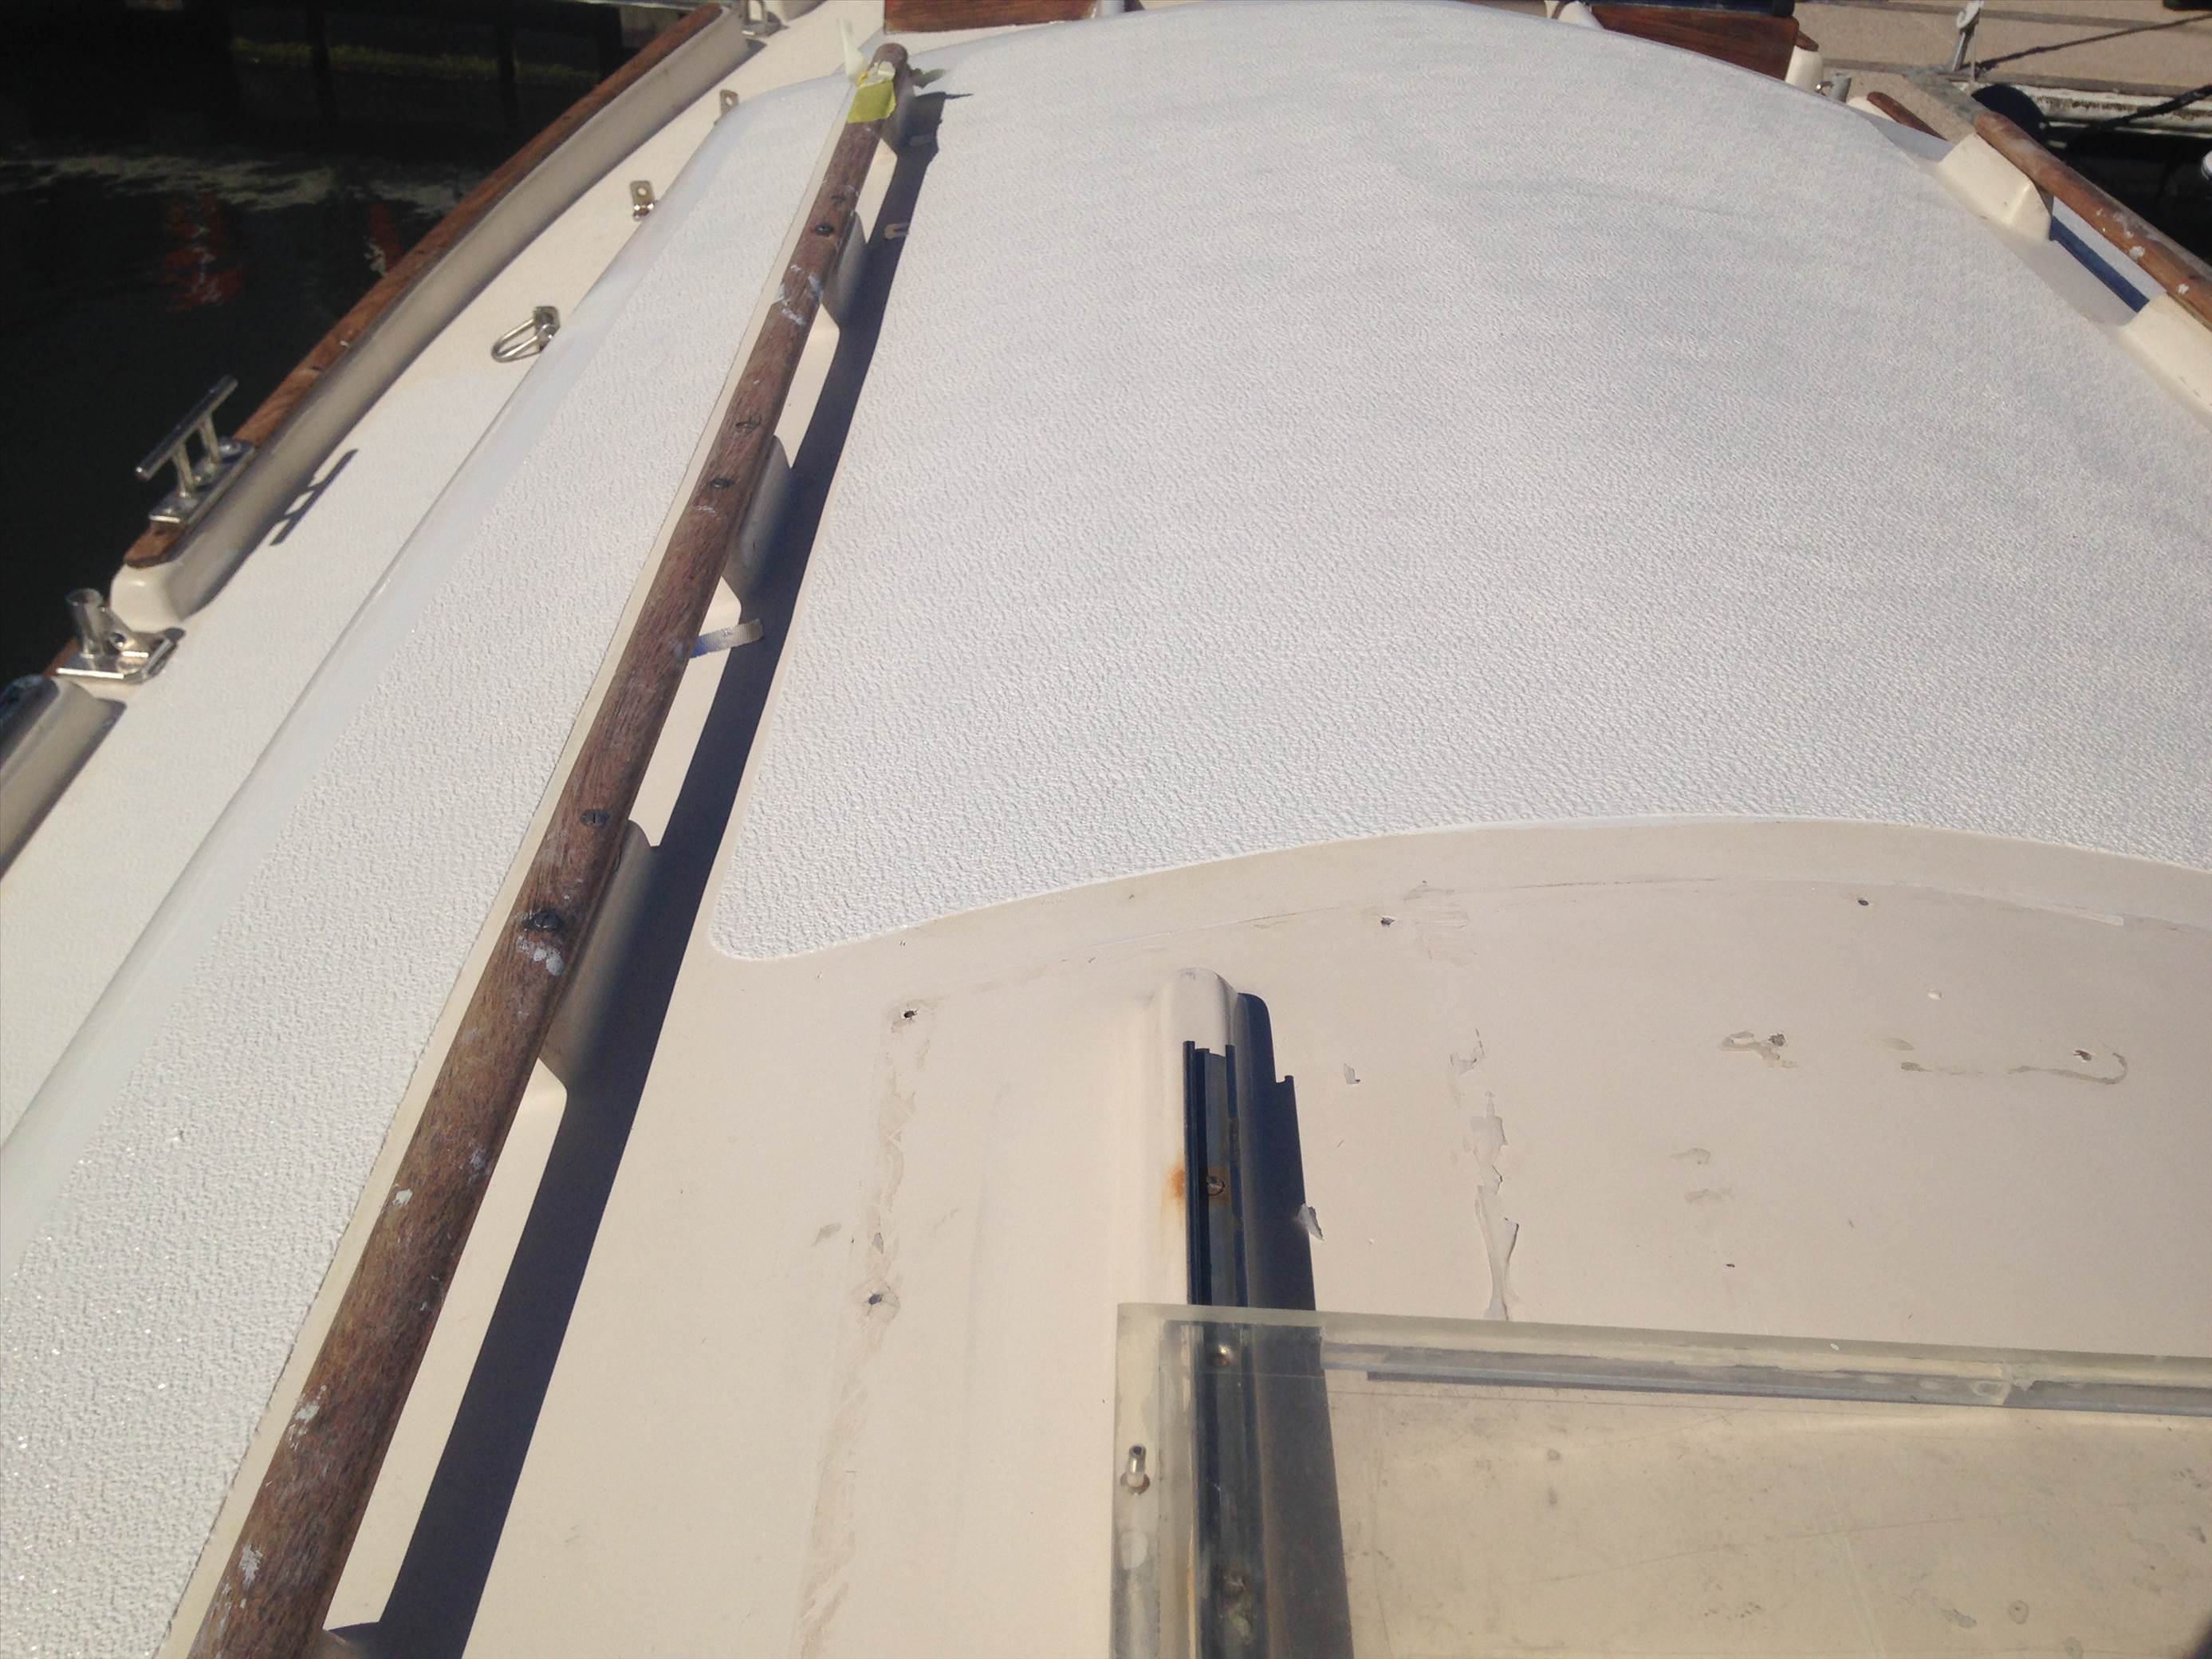
non skid painted up to the forward port light I still have to put more prep work on the smooth surfaces so ill do then later this week . But Im determend to have the deck completed except for the hatch cover this week I may leave the cock pit area till later on after Ive filled in where the throttle / Gear shift hole is in the cockpit as Ill also fill that in this week pending weather but it looks OK for out side jobs.![]()
Thanks to Claverton who came up with me this afternoon, Morning Bird is a sailing boat again. The boom repair is complete and we bent the main sail to the boom and hoisted it to make sure all was in order. Just need to rove the No1 reef in, forgot to do it as we dropped the sail but did do the 2nd reef.
The new dodger should be on next week.
She is ready to go sailing again.
Select to expand quoteMorningBird said..
Thanks to Claverton who came up with me this afternoon, Morning Bird is a sailing boat again. The boom repair is complete and we bent the main sail to the boom and hoisted it to make sure all was in order. Just need to rove the No1 reef in, forgot to do it as we dropped the sail but did do the 2nd reef.
The new dodger should be on next week.
She is ready to go sailing again.
Did you use the same dodger frame Morning bird? ![]() Would have love a photo Morning bird
Would have love a photo Morning bird
Yep, same dodger frame although I raised it an inch or two. The previous dodger was installed when I had the old baggy main, with the new main the boom is higher so the dodger could go up a bit to give more head room. For those who know me you might ask why I needed more head room. I just did.
The dodger extends a fair way into the cockpit so it gives good protection in the rain. Looks a bit ungainly but it works.
I'll take some photos next week.
I have just completed a bottle of St Hallets Faith Shiraz. Gee it is good, especially after a beer and a scotch.
Select to expand quoteMorningBird said..
I have just completed a bottle of St Hallets Faith Shiraz. Gee it is good, especially after a beer and a scotch.
Can I interest you in some Grange?
Select to expand quoteMorningBird said..
Yep, same dodger frame although I raised it an inch or two. The previous dodger was installed when I had the old baggy main, with the new main the boom is higher so the dodger could go up a bit to give more head room. For those who know me you might ask why I needed more head room. I just did.
The dodger extends a fair way into the cockpit so it gives good protection in the rain. Looks a bit ungainly but it works.
I'll take some photos next week.
I have just completed a bottle of St Hallets Faith Shiraz. Gee it is good, especially after a beer and a scotch.
walker H28 some have the hard dodger which Id think would be a real head banger to have installed.
I wont be adding a dodger for a year or to budget would not allow that nor a nice bottle of red ![]() but a mate dropped in and we shared a
but a mate dropped in and we shared a
Tolley Adelaide Hills Pinot Noir that he bought around![]()
Spent the last four hours removing some else's silastic around the hatch cabin top area to make ready for under coat. ![]() I hate that stuff
I hate that stuff
Came back here to pick up the two pack under coat
I love that job Ho2, I find it quite relaxing ! Do you have a sharp/blunt screw drive that's the best tool I find for that job?
or you could try some acetone but you might find yourself wasting chemicals and your time!
Select to expand quotesouthace said..
I love that job Ho2, I find it quite relaxing ! Do you have a sharp/blunt screw drive that's the best tool I find for that job?
or you could try some acetone but you might find yourself wasting chemicals and your time!
Or, you could make it easy and use Selleys Silicone Remover.
Really does that work like paint stripper? does it vaporise the silicon?or do you get left with a sticky mess?
Select to expand quotesouthace said..
Really does that work like paint stripper? does it vaporise the silicon?or do you get left with a sticky mess?
It destroys the silicone without destroying anything else. It's a thick gel like consistency, just spread it on, wait the required time and them with a paper towel wipe it off. If you don't get it all on the first try just repeat.
I used it on the dashboard of a car and afterward you wouldn't know anything had been on that dashboard, squeaky clean.
Select to expand quoteLooseChange said..southace said..
I love that job Ho2, I find it quite relaxing ! Do you have a sharp/blunt screw drive that's the best tool I find for that job?
or you could try some acetone but you might find yourself wasting chemicals and your time!
Or, you could make it easy and use Selleys Silicone Remover.
I now remember you talking about that silicone remover a while back ![]()
Select to expand quotesouthace said..
Why do you silicon your dashboard loose change?
I didn't, my ever obliging sister had stuck a GPS mount on with silastic after she found the adhesive rubber pad thingy didn't stick because she had put amour all on the dash.
Sorry photo free day
sanded back the under coat on the cabin roof but the weather was not agreeable to paint today ,so I epoxied a few things instead
1 Epoxied the head floor in place
2 Epoxied the old throttle / Gear shift hole so I don't need to fit my ply wood piece I made
3 Epoxied my deck side anchor well and late today put some filler on top ready to sand back tomorrow
Maybe a better day out side tomorrow
What did I do? Admired my new Princess from a distance still!
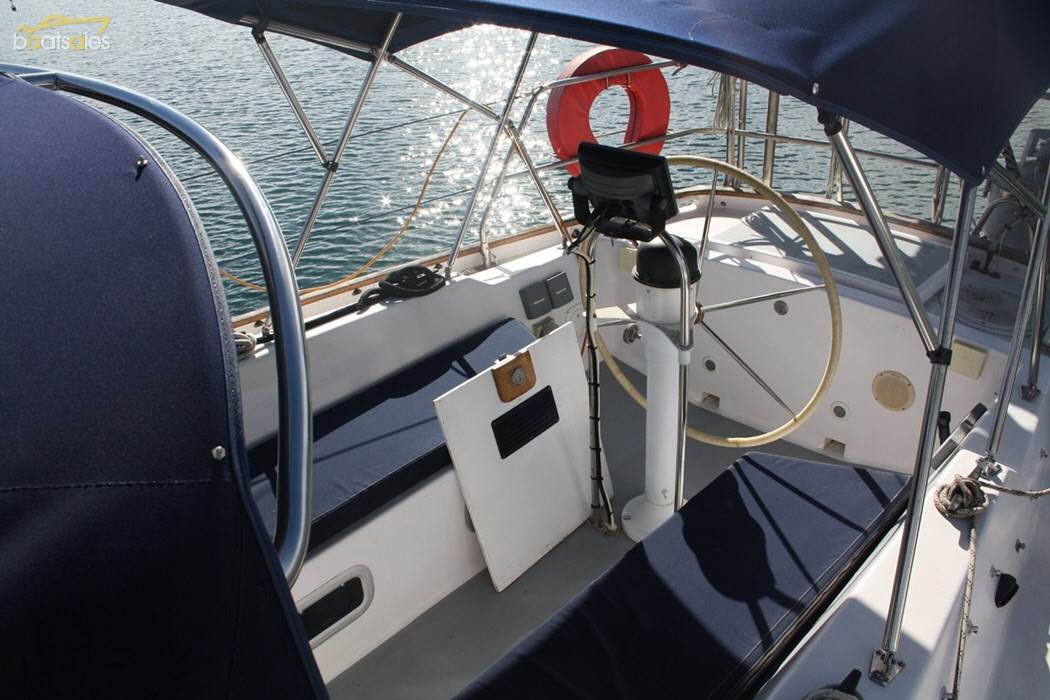
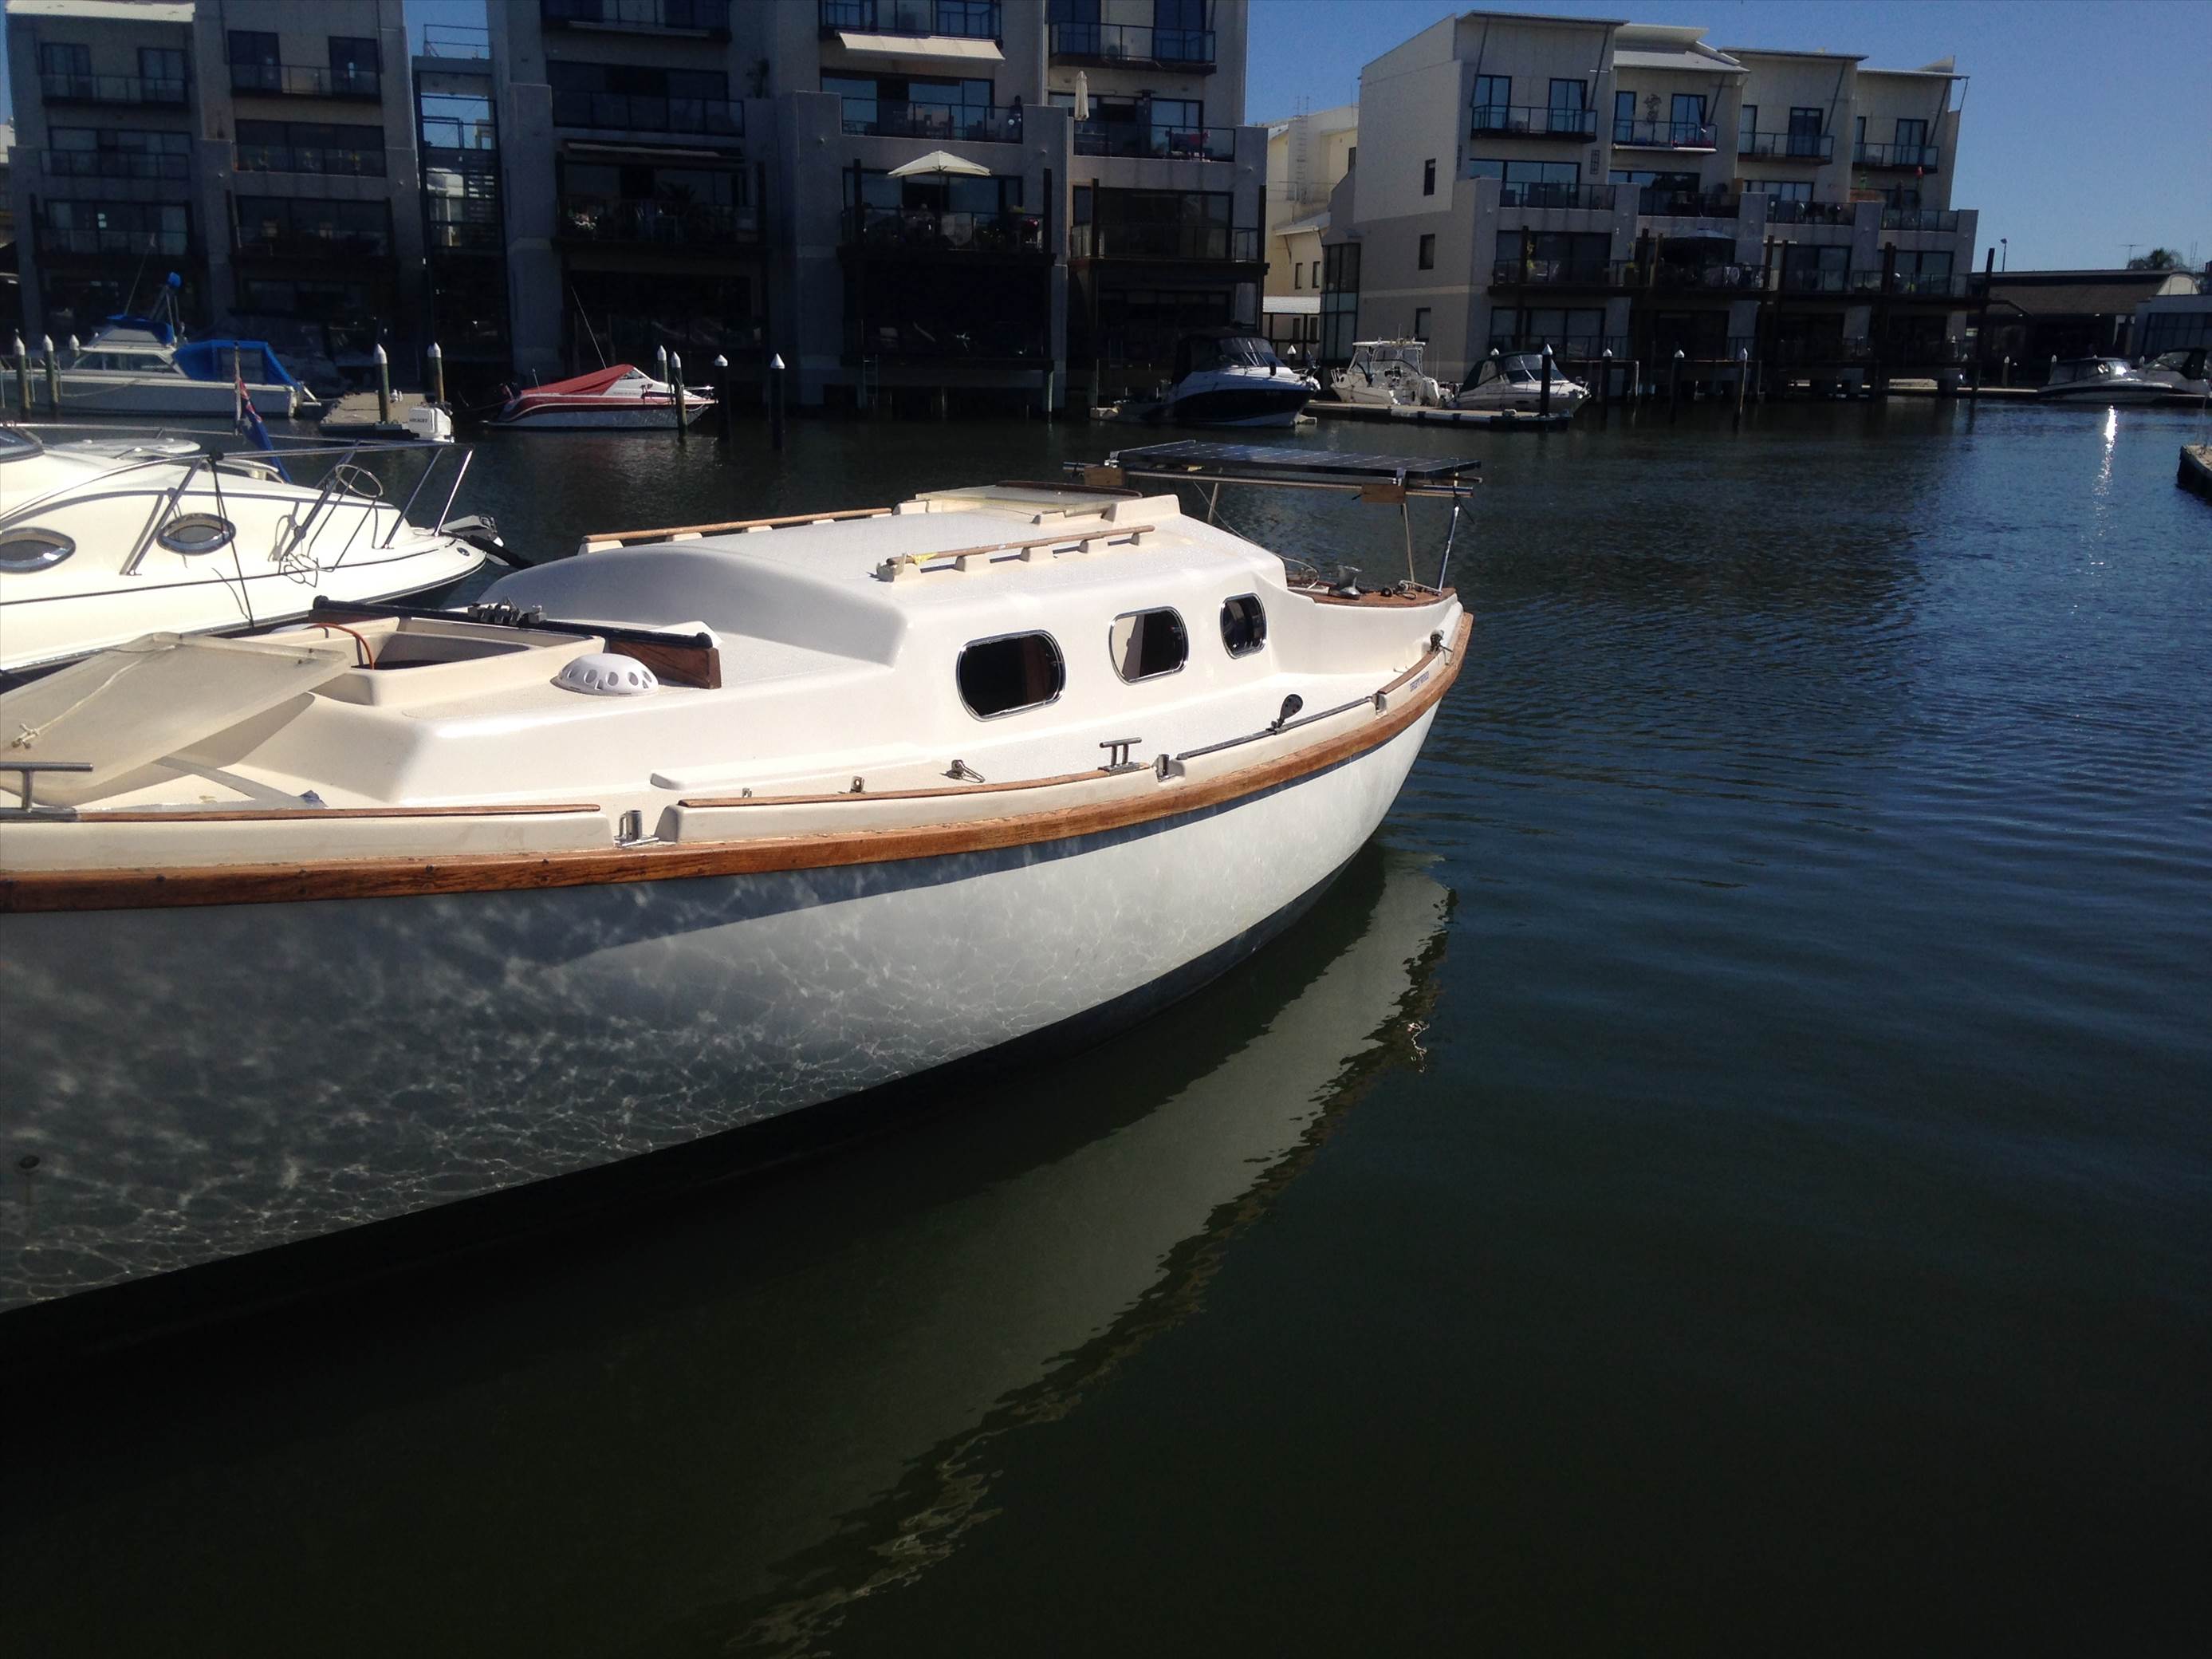
The Cockpit and deck