Glass hasn't cracked completely through on the top like it has on the base. Smaller one near the fin screw which hasn't cracked inside the hole luckily. Notice there's a faint crease on the base extending in from the crack - ****ty photos, sorry.
Done a few surfboard repairs with epoxy resin, is it a similar process on twin tips? Been searching the forums & most people suggest epoxy for delaminations so I guess it's alright.
My question is should I sand down the crease on the top so the glass sits flat or just leave it alone since it hasn't cracked open & put two bigger layers of 6oz (all I've got at the moment) on the base to seal the crack & add strength. Dribbling some resin into the cracked rail also.
Greatly appreciate any ideas. Thanks


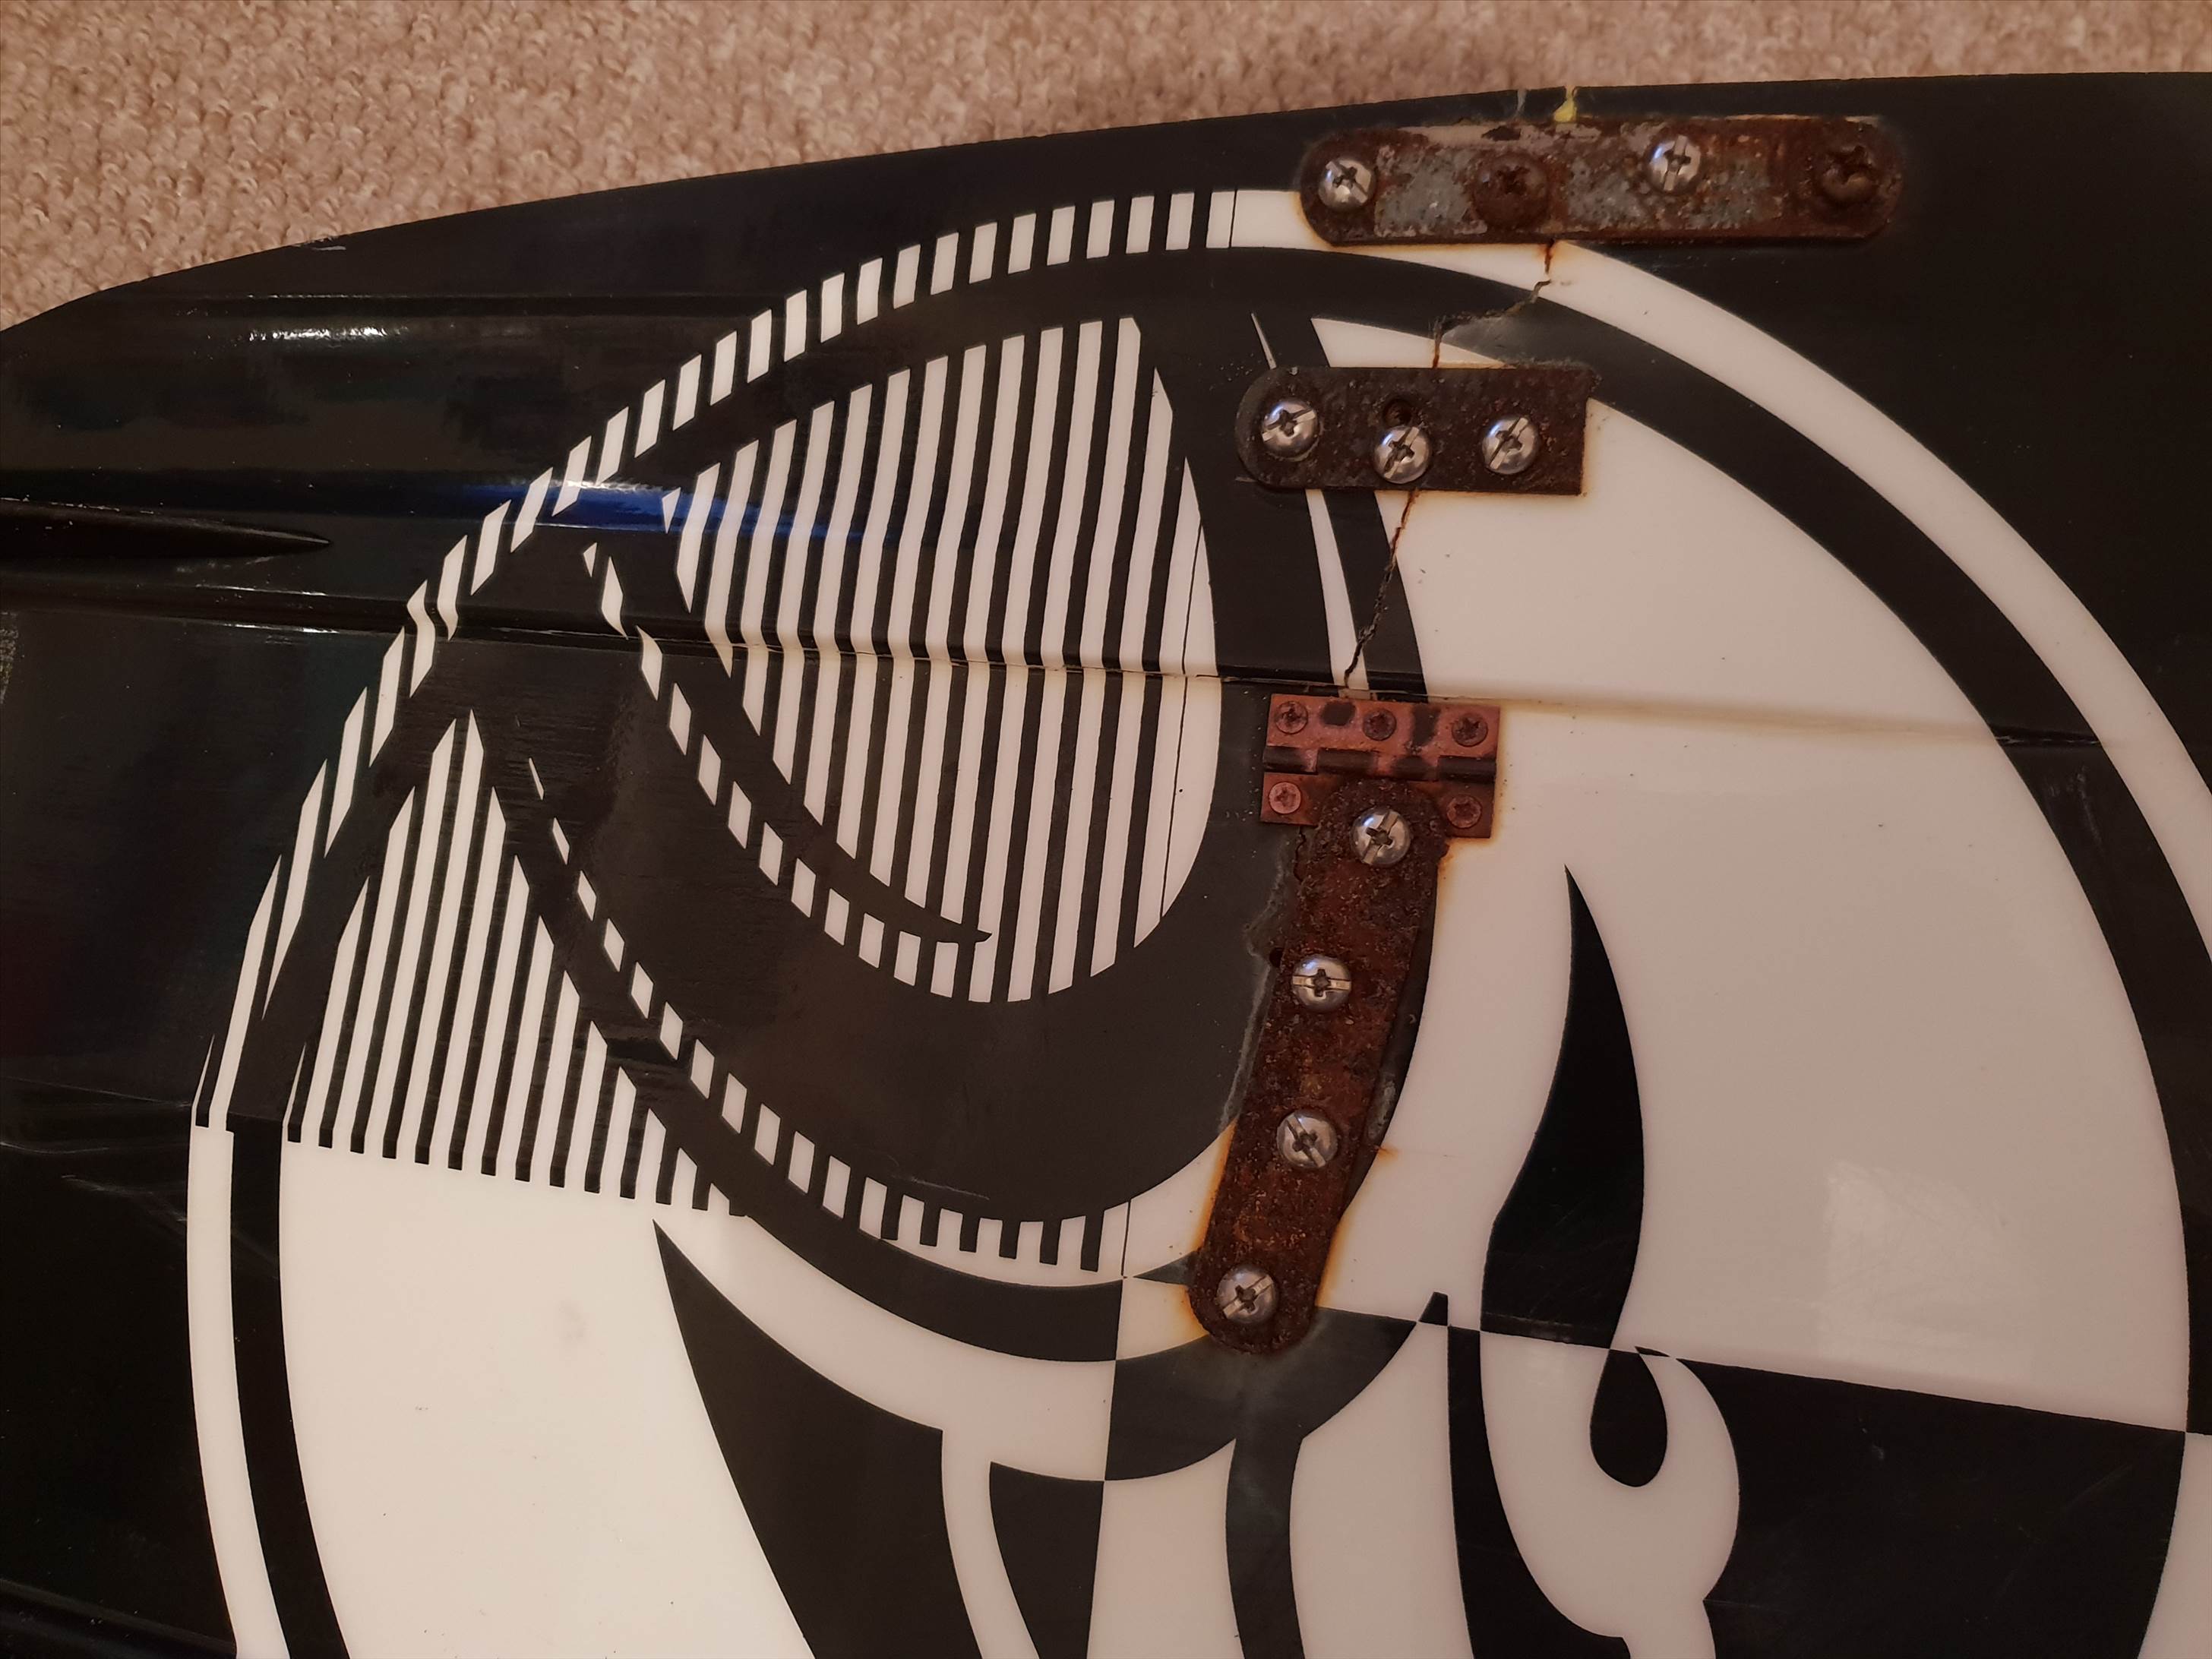


Haha.. havent used resin for 20 years...don't know about any other repair method..so I used nuts and bolts and metal strips...this was done 3 years ago...still in use...very strong repair...that last pic the crack hasn't moved in 3 years but might look bad..always obviously sandwich board between bolt head and nut and strips on both sides.
Haha, steampunk kiteboard! Why the hinge though?
So it hasn't taken on water the last 3 years & damaged the wood core?
The board was already 3 yrs old. To me it was a throw away with the crack. So i didn't care what it looked like. I bought small hinges from bunnings and small bolts for minimal impact on visual and water flow ? Then upgraded to bigger plates and nuts and bolts...It was a quick fix does the job ,the board is worth nothing but does me. Still performs .As far as water leaking internally ,the crack is on bottom only,distinct but minimal....water probably leaks, i don't care until its is noticeably damaged
Ive repaired a throwaway with epoxy glue from the bunnings and 4 oz. make sure to keep the flex in the tips.


With a crack you can just glass on top, around 2 inch strip then 4 approx wide, laminate, then the hard part was sanding. I would suggest to start around 360 wet and dry then 600, 800 if you want to smooth out water flow.
Yep drop glue in the crack. I used 1 dollar little super glue tubes and dabbed glue spots on top of the cloth to hold laminate in place then squeezed epoxy glue through laminate, other wise the cloth would move.
I used disposable gloves, paddle pop sticks and a plastic paint scraper. Get the slow setting glue around 4 days between laminates and wait 4 before riding.Board rides wicked for a freebie.
Man that turned out nice , well done Sandfoot. Board's not that old either is it? Wonder how it happened.
How have those clear fins not cracked on you though? Mine couldn't handle dragging a meter off the beach after putting the board on & no they weren't on when the damage happened, they came with the board & broke apart the first 2 sessions. Been using the black hex flow fins since, they've held up great.

There might be too much flex in the tips. The custom tapers out really thin. Are those length wise cracks from water damage or would all used boards look like that if you opened them up? Cheers for the sanding advice, I'll try get it feathered in as nice as possible but honestly don't think I'd notice it in the chop. Resale value is shot to **** now anyway.
I've cut away at the top crease, was only a thin layer covering it after all. It's such a fine crack I'm not sure how to lever it open to get the resin in there without doing more damage. Maybe drill small holes into the rail crack & pour it in?
Thanks again.
Thanks fellas, was a fun project across Christmas, I don't know how the board got damaged, didn't look like it was from riding it.
 Lucien - maybe don't bother with the sanding step, it can cause problems.
Instead use a plastic scraper and paddle pop sticks to flatten any lumps. The epoxy adhesive will gel in around 20 mins and harden around 4 hours later but will remain tacky for a couple of days, so as mentioned wait.
The small tube of super glue is to hold the laminate glass down before you use the epoxy glue.
Ive had a couple cabrinha Ace's crease on me, and one axis liberty
i dont know what it is with the cabrinha boards, but a lot of people i know have come in from a session to find the same crease, in the same location on their boards
Select to expand quotejoelz87 said..
Ive had a couple cabrinha Ace's crease on me, and one axis liberty
i dont know what it is with the cabrinha boards, but a lot of people i know have come in from a session to find the same crease, in the same location on their boards
Can you post photos Joel, where Abouts are they creasing?
Great job Select to expand quoteSandfoot said..
Ive repaired a throwaway with epoxy glue from the bunnings and 4 oz. make sure to keep the flex in the tips.
With a crack you can just glass on top, around 2 inch strip then 4 approx wide, laminate, then the hard part was sanding. I would suggest to start around 360 wet and dry then 600, 800 if you want to smooth out water flow.
Yep drop glue in the crack. I used 1 dollar little super glue tubes and dabbed glue spots on top of the cloth to hold laminate in place then squeezed epoxy glue through laminate, other wise the cloth would move.
I used disposable gloves, paddle pop sticks and a plastic paint scraper. Get the slow setting glue around 4 days between laminates and wait 4 before riding.Board rides wicked for a freebie.
I have repaired a few boards mainly nobile boards as they used to break the corners of the tips near the fins.
Did exactly what sandfoot does
, but I lay a piece of carbon between glass fibre and I use 1oz cloth.
Select to expand quoteSandfoot said..joelz87 said..
Ive had a couple cabrinha Ace's crease on me, and one axis liberty
i dont know what it is with the cabrinha boards, but a lot of people i know have come in from a session to find the same crease, in the same location on their boards
Can you post photos Joel, where Abouts are they creasing?
Hi mate, same as the original post at the top, almost identical, however, no sign of creasing on the side on profile, or underneath the board, only seems to be the top layer
Select to expand quotejoelz87 said..Sandfoot said..joelz87 said..
Ive had a couple cabrinha Ace's crease on me, and one axis liberty
i dont know what it is with the cabrinha boards, but a lot of people i know have come in from a session to find the same crease, in the same location on their boards
Can you post photos Joel, where Abouts are they creasing?
Hi mate, same as the original post at the top, almost identical, however, no sign of creasing on the side on profile, or underneath the board, only seems to be the top layer
Not an expert but I know ski and snowboard manufacturers laminate the cloth 45 degrees to the torsional load. This increases stiffness of the board and helps prevent that type of sideways cracking that is in the photos of the Custom.
From looking at the all the above pics Cab lay the cloth going in the same direction as the board flex. ?
Hi joelz87 - Really same spot? Feel a bit better now, thought I'd done something stupid that I couldn't remember. Did you repair them or just leave it?
Been racking my brain if I'd done anything different that session. Only thing I can think of that's consistent with the crack's angle & location was trying that nose slicing thing (trick name?) but I'd tried them before with no damage. Surely board's strong enough for that anyway. Emphasis on "trying", mine don't look this good.
In the 3rd pic I'm pressing it pretty hard & that's as much as it opens. Guess it's a good thing it doesn't open right up but how do I get resin into such a fine crack? Drill small holes directly into the rail maybe? Bit stuck on how to pry it open without doing more damage.
Hello GaryA. Cheers for the responses guys, appreciate it.
Select to expand quoteLucienSanchez said..
In the 3rd pic I'm pressing it pretty hard & that's as much as it opens. Guess it's a good thing it doesn't open right up but how do I get resin into such a fine crack? Drill small holes directly into the rail maybe? Bit stuck on how to pry it open without doing more damage.
Even if you managed to get the resin in, it won't do much to it. It will crack again on the same spot.
The crack might be even longer than what you see. You'll need to sand off all the broken glass and assess if the core has cracked all the way across the board. If it has, I don't think it is worth repairing. If it hasn't, you can try relaminating over and see how long it last. Chances are you'll loose some flex in this area.
I used a Drexel, and milled out about a millimetre of wood and honey comb, you can open up the crack this way and then use some epoxy to glue it together and then laminate it. Makes it stronger and also I vacuumed the laminate so it stuck to the wood. Takes a long time but does work
Select to expand quoteGarryA said..
Post unavailable

Mine was a crack, smack in the centre through the wood and half way through the honey comb. Sorry about the bad photo but that's the end product.
I sanded down an epoxy project with a dust mask but lungs felt bad for two weeks after. The stuff we use is a lot more toxic than we think.
Had a go, pretty ugly. Used 6oz & trojan slow cure epoxy. I'll see how it holds up first before trying to make it look nice, fingers crossed.

 Cut away the glass that had separated from the wood beneath the top crease. Crack was right through the rail & snaked into the wood a little then stopped.

 Put the patches on from left to right & the bottom two over the rail.


 Single layer over the center of base. Could feel a ridge running my hand over it, core must've cracked beneath it but I didn't want to cut it open just yet as it wasn't damaged like the top.
Genuinely appreciate the input, was a bit hesitant hacking into such a nice board. Cheers